Guides
Flat lay to model photo with AI: a step-by-step guide
A photo of the garment on the floor, on a hanger or on a mannequin is all you need for on-model photos. Here is how to get it right first time.
3 min read
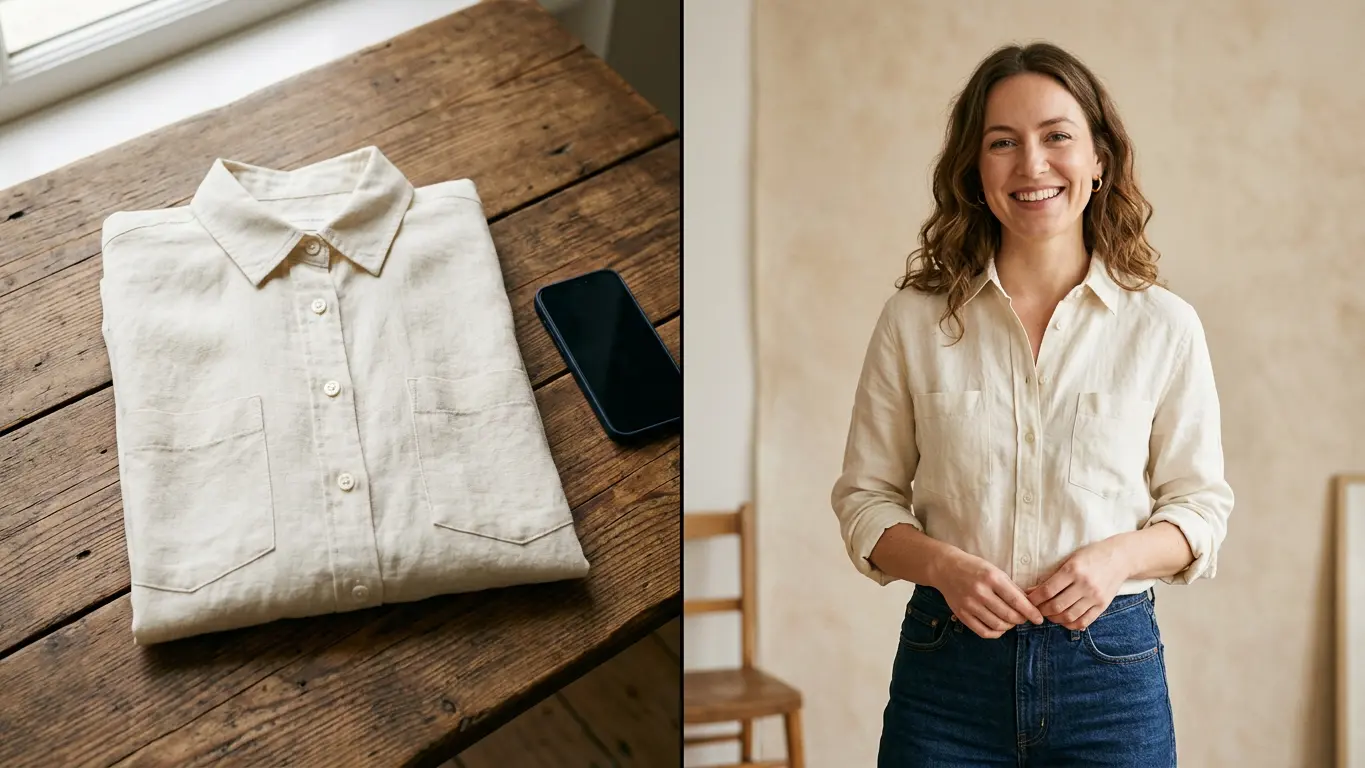
Most clothing stores start the same way. You lay the garment on the floor or hang it up, take a photo with your phone and put it on the product page. That works, but shoppers have a hard time picturing it on. Going from flat lay to model with AI fixes that, and you don't have to book a shoot every time something new comes in.
Below: what to upload, how to pick the model and scene, and what to check before you publish. We use Amondu's Garment → Model tool as the example, but the advice works for any similar setup.
Before you start
- A sharp photo of the whole garment, with nothing cut off.
- Even light. A window in daytime beats the phone flash.
- A plain background that contrasts: a light floor for dark clothes, and the other way round.
- The garment ironed, or at least without deep creases.
If there's a print or a small logo, take a close-up too. You'll want it later to check the detail came out right.
Step 1: get the flat lay right
The AI can only work with what it sees. If a sleeve is tucked under the body, it has no way of knowing how long it is. Lay the garment out as if someone were wearing it, shoulders straight, sleeves open, hem pulled flat. Shoot from directly above with the phone parallel to the floor so nothing gets distorted.
Hanger and mannequin photos are fine too. What matters is that the whole garment is in the shot and the color looks like the real thing. If you're not sure, hold the garment up next to the screen before you upload.
Step 2: model, scene and format
Start with where the photo is going. Product pages usually look best with a neutral background and a full-body shot. For social media, something with more atmosphere tends to work, like a street, a terrace or a colored studio.
- Pick a model who looks like your customers in age, size and style.
- Choose the scene and the crop: full body, three-quarter or detail.
- Set the format. Portrait for your store and Instagram, square for some marketplaces.
If different kinds of people buy the same piece, try it on two or three models and keep whichever works best. Model swap lets you do that without starting over.
Step 3: compare the photo with the garment
A photo can look lovely and still be wrong. Before you publish, compare it with the garment in your hand:
- The color should match the garment, which isn't always what your photo showed.
- Prints and logos in the right place, complete, with no made-up lettering.
- The hem should sit where it really does, and the fabric should hang the same way.
- Buttons, zips, pockets and visible seams.
If something's off, you don't have to redo everything. Fix just that area in the editor, or generate another version with the same model. Amondu marks every image as AI-generated in its metadata. If you edit it in another program later, keep that label.
When to stick with the flat lay
An on-model photo doesn't always replace the flat one. Plenty of marketplaces want the product on a white background as the main image. And for socks or small accessories, a flat shot shows the product better anyway. Most stores use both: the flat lay or a packshot as the main image and the on-model photo second.
So what does it cost?
To compare this with a traditional shoot, see how much a fashion photoshoot costs. If you'd rather just try it with one of your own garments, you get free credits when you sign up. The details are on the pricing page.
Frequently asked questions
Does a phone photo work?
Yes, as long as the whole garment is in the shot, in focus and well lit. Avoid direct flash and hard shadows.
Can the AI change the garment's color or print?
It can happen. That's why it's worth comparing each image with the real garment before you publish. If something doesn't match, fix that area or generate another version.
Can I use these photos in my store and on marketplaces?
Yes, but check each marketplace's rules. Some require the main image to show the product on white and ask for AI-generated images to be labelled.